Author: info@discoverdairy.com
Learn About Dairy Technology During Robotics Week From April 6-14

National Robotics Week is happening from April 6 to 14! This is the perfect time to introduce your students to the vast array of technology that’s utilized by dairy farmers, specifically robotic milkers, feed pushers, feed mixers, calf feeders, and more. Here are two engaging videos about dairy technology plus a Dairy Technology lesson plan for elementary students:
- Robotic Milker Video: Learn from “Iowa Dairy Farmer” exactly how robotic milkers work and how a robot can milk cows from start to finish. Watch the video.
- Robotic Feeding System Video: Dairy farmers also use robots to feed their cows through robotic feeding systems. Watch the video to see this in action.
- Dairy Technology Lesson (Grades 2-4): What do kids and cows have in common? They both use high-tech devices! The workings of a 21st century American dairy farm can be a revelation for students who might not realize the same types of technology that are part of their lives also play a big role in making dairy farming more productive for the farmer and beneficial for the cows.
Dairy Jokes to Share on April Fool’s Day
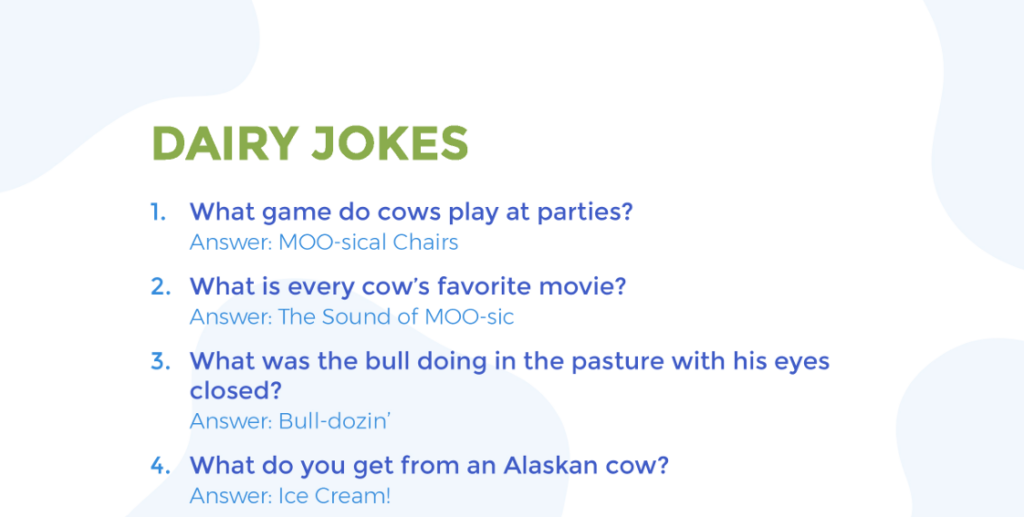
This is no joke: We’re about a week away from April Fool’s Day! If you want to have some clever fun with your students, here are a few dairy-themed jokes you can share. Why did the cow cross the road? To get to the udder side! What game do cows play at parties? MOO-sical chairs!
Bunny Milk Recipe
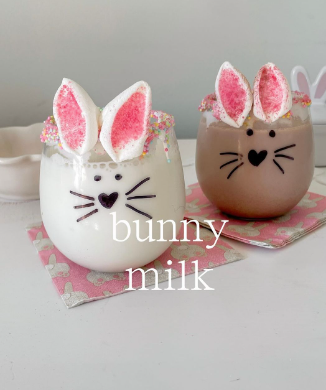
| Try this adorable “Bunny Milk” recipe, which is simple and easy to do at home. It could also be a fun spring break treat in the classroom. |
| Ingredients/Supplies: – Milk – Marshmallows – Marshmallow crème – Sprinkles – Cups – Washable marker – Optional: Kool-Aid for fun flavors and colors Directions: 1. Pour your favorite flavor of milk into a small glass. 2. Cut marshmallows in half to make “bunny” ears. 3. Dip the sticky part of the marshmallow into any color sprinkle of your choice. 4. Use a washable marker to draw a simple “bunny” face, including eyes, nose and whiskers, onto the front of your glass. 5. Spread marshmallow crème around the rim of your glass. Dip it into more colored sprinkles. Cut a small slit into the marshmallow “ears” and stick two of them on the rim. 6. Fill the glass with your favorite flavor of milk. Tip: To encourage your students to be part of the fun, have them stir a teaspoon of their favorite flavor of Kool-Aid into the milk to make fun flavors and vibrant colors. |
Enjoy Breakfast and a Book

| In this “Breakfast and a Book” three-part video series, soccer player Emily Eitzman from the AFC Ann Arbor women’s team and University of Michigan’s Club Team shared what led her to write and illustrate her own book. She shared some of her favorite breakfast foods and answered questions from students during the 30-minute sessions. Here are some ways to connect it to dairy and plan some fun “Breakfast and a Book” activities with your classroom: – Watch the videos during breakfast or morning snack. You can tie them into ag literacy or other books you may have read about dairy farming. – View additional resources and activities that go along with the videos. – Watch this video that specifically features a dairy-themed book that is read by a past Adopt a Cow host farm from Michigan. |
Dairy Fun Fact
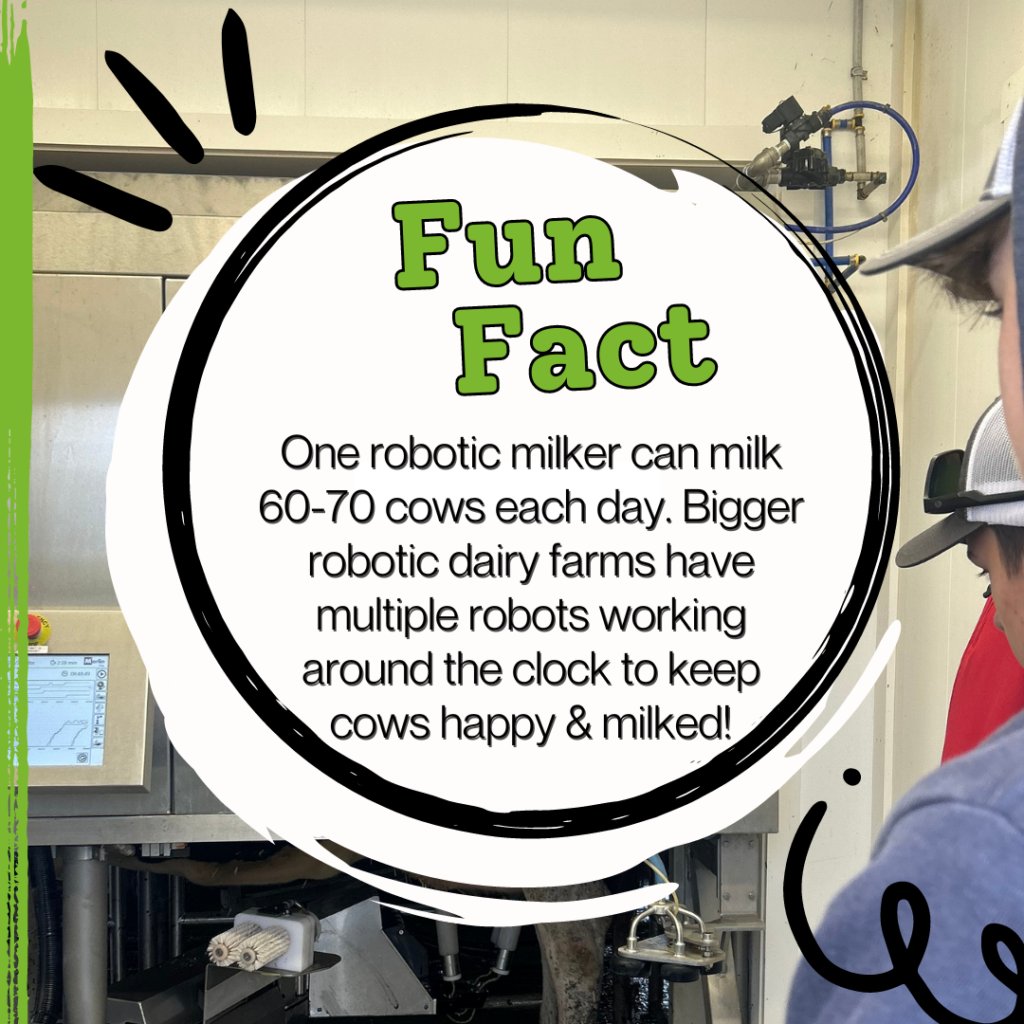
Dairy farmers use a lot of innovative technology to help make their farms more efficient, productive and profitable. Robotic milking technology is one example of that. One robotic milker can actually milk 60-70 cows each day. Larger robotic dairy farms have multiple robots working around the clock to keep cows happy and milked. Share this fact with your students during Robotics Week this April!
Teachers Invited to Join ‘Adopt a Cow’ Spring Live Chats With 35 Dairy Farms
Those Interested in Learning More About Dairy Farming and Adopt a Cow Program Can Join
The more than 39,000 classrooms participating in Discover Dairy’s Adopt a Cow program for the 2023-24 school year will be invited to participate in virtual live chats this spring to culminate their year-long experience. The Dairy Excellence Foundation and program partners, including 14 regional Dairy Checkoff-funded associations across the United States, will host the live chats with 35 dairy farm families who have participated in the program this past year. Teachers or families who are interested in experiencing the Adopt a Cow program in action can join one or more of the live chats throughout April and May.
Each live chat will be streamed on the Dairy Excellence Foundation’s YouTube channel. They will be recorded and can be re-watched at your convenience if you cannot participate during the scheduled day and time.
“The virtual live chats are one of students’ favorite parts of the Adopt a Cow program,” said Brittany Snyder, dairy education program manager with the Dairy Excellence Foundation. “The teachers and students have learned about their host farm’s history, basic calf care, and about their adopted calf through pictures and videos all year long. After seven months of updates, they finally get to virtually meet their calf and chat directly with the farmer. Students always ask insightful questions and really enjoy getting to virtually meet dairy farm families from across the United States.”
Each live chat will be a half hour long, and the chat feature will be enabled so the farmer can answer students’ questions in real time. For Spanish-speaking students, there will be a live chat on Wednesday, May 1 at 1:00 p.m EDT that will be held in Spanish with Loehmer Dairy in Indiana. Teachers are encouraged to share this live chat opportunity with Spanish teachers and students who might benefit from this event.
The farms who are hosting a live chat through the Adopt a Cow program are listed below with the time and date of their virtual event. Visit www.discoverdairy.com/live-chats to view the full schedule with connection details. All times are listed with the appropriate time zone.
- College of the Ozarks, Missouri: Tuesday, April 9 at 10:00 a.m. EDT / 9:00 a.m. CDT
- Selz-Pralle Dairy, Wisconsin: Wednesday, April 10 at 2:30 p.m. EDT / 1:30 p.m. CDT
- Larson Dairy, Florida: Thursday, April 11 at 10:00 a.m. EDT
- Long Green Farms, Maryland: Thursday, April 11 at 1:30 p.m. EDT
- Four Pines Farm LTD, Ohio: Friday, April 12 at 9:30 a.m. EDT
- Gervais Family Farm, Vermont: Friday, April 12 at 2:30 p.m. EDT
- Nance Dairy, South Carolina: Monday, April 15 at 10:30 a.m. EDT
- Triple H Dairy, Kentucky: Tuesday, April 16 at 10:30 a.m. EDT / 9:30 a.m. CDT
- Takes Dairy, Iowa: Tuesday, April 16 at 2:30 p.m. EDT / 1:30 p.m. CDT
- Clark Family Dairy, Utah: Tuesday, April 16 at 3:30 p.m. EDT / 1:30 p.m. MT
- Rottinghaus Holstein Farm, Kansas: Wednesday, April 17 at 2:30 p.m. EDT / 1:30 p.m. CDT
- Miron Farm, Minnesota: Thursday, April 18 at 11:30 a.m. EDT / 10:30 a.m. CDT
- Big Sandy Creek Dairy Farm, Georgia: Thursday, April 18 at 1:30 p.m. EDT
- Vision Aire Farms LLC, Wisconsin: Thursday, April 18 at 2:30 p.m. EDT / 1:30 p.m. CDT
- Schoch Dairy & Creamery, Oregon: Thursday, April 18 at 4:30 p.m. EDT / 1:30 p.m. PDT
- Dusty Road Jersey Farm, North Carolina: Friday, April 19 at 10:30 a.m. EDT
- Stargo Dairy Farm, New York: Friday, April 19 at 1:30 p.m. EDT
- Mauthe Farms, Mississippi: Monday, April 22 at 11:30 a.m. EDT / 10:30 a.m. CDT
- Barham Jersey Farm, Tennessee: Wednesday, April 24 at 9:30 a.m. EDT
- Cave Hill Dairy, Virginia: Wednesday, April 24 at 10:30 a.m. EDT
- Lueken Dairy, Indiana: Wednesday, April 24 at 1:00 p.m. EDT
- Mapleleaf Farm, Connecticut: Wednesday, April 24 at 2:00 p.m. EDT
- Jem-Lot Dairy, Michigan: Thursday, April 25 at 11:00 a.m. EDT
- Circle J Dairy, Alabama: Thursday, April 25 at 12:00 p.m. EDT / 11:00 a.m. CDT
- JJC Jerseys, Nebraska: Friday, April 26 at 2:30 p.m. EDT / 1:30 p.m. CDT
- Brigeen Farms, Maine: Monday, April 29 at 10:30 a.m. EDT
- Stotz Dairy, Arizona: Monday, April 29 at 4:30 p.m. EDT / 1:30 p.m. YST
- MacGlaflin Farm, New Hampshire: Tuesday, April 30 at 10:30 a.m. EDT
- Loehmer Dairy (English), Indiana: Wednesday, May 1 at 9:30 a.m. EDT
- Loehmer Dairy (Spanish), Indiana: Wednesday, May 1 at 10:30 a.m. EDT
- Zahncroft Dairy, Pennsylvania: Wednesday, May 1 at 1:00 p.m. EDT
- Cottonwood Farms, Nevada: Wednesday, May 1 at 4:30 p.m. EDT / 1:30 p.m. PDT
- Dan Maur Farms, Washington: Thursday, May 2 at 2:00 p.m. EDT / 11:00 a.m. PDT
- Berning Acres, Illinois: Friday, May 3 at 10:30 a.m. EDT / 9:30 a.m. CDT
- Orthridge Jerseys, Wisconsin: Friday, May 3 at 2:30 p.m. EDT / 1:30 p.m. CDT
Each classroom that enrolls in the Adopt a Cow program is paired with a calf from a working dairy farm in the United States. Teachers and students receive photos, video updates, and activity sheets throughout the school year that allow them to watch their calf grow. Through interactive, hands-on learning activities, students gain a deeper understanding of the dairy industry and where their food comes from. The live chats are the final installment of the year-long program.
“I started using the Adopt a Cow program because it’s really important for kids to make that connection [to where their food comes from]. It’s super important to have the virtual components like the live chats because we can’t always do field trips,” said Julie Cates, a Discover Dairy participant and sixth-grade teacher from California. “It’s live and it’s natural, and the big cow’s face might be in the camera. It’s so fun for the kids. They just have a ball with it because it feels like they are right there [on the farm].”
More than 2 million students from across the globe have been impacted by the 2023-24 Adopt a Cow and Discover Dairy programs. Classrooms from all 50 states are enrolled, and the program has begun to make an international impact. Classrooms from the United Kingdom, Canada, Australia, Costa Rica, France, Germany, Mexico, South Africa, and more are participating in the program.
The Adopt a Cow program is made possible through the generous support of Dairy Excellence Foundation donors and program partners, including American Dairy Association Northeast, American Dairy Association Indiana, Midwest Dairy, The Dairy Alliance, Dairy Farmers of Wisconsin, Dairy Management West, Dairy West, New England Dairy, Dairy Farmers of Washington, American Dairy Association Mideast, Dairy Council of Florida, United Dairy Industry of Michigan, Maine Dairy and Nutrition Council, and Oregon Dairy and Nutrition Council.
To join one or more of the live chats being held in April and May, visit www.discoverdairy.com/live-chats to view the full schedule and find connection details. You can also visit the Dairy Excellence Foundation’s channel on YouTube. To find the channel, search “Dairy Excellence Foundation” at www.youtube.com. To donate to the Adopt a Cow program, contact LeeAnn McLaughlin at lmclaughlin@centerfordairyexcellence.org or call 717-346-0849. You can also visit www.centerfordairyexcellence.org/donate. Any support received will support classrooms participating in the 2024-25 Adopt a Cow program.
To learn more about the program and its impact on the Pennsylvania and United States dairy industry, contact Brittany Snyder at bsnyder@centerfordairyexcellence.org or call 717-346- 0849. You can also visit www.discoverdairy.com/adopt.
Introduce New Curious Clover Book During Ag Literacy Week (March 18-22)
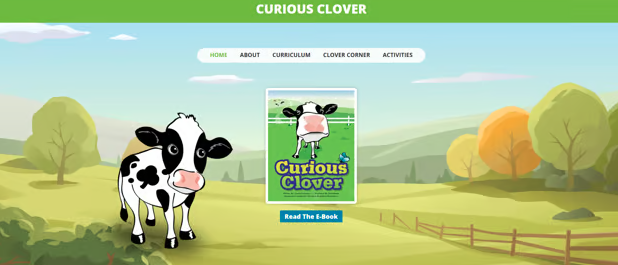
Did you know Ag Literacy Week is happening this month on March 18-22? It’s the perfect time to introduce our NEW Discover Dairy book and activity, called, Curious Clover, to your students! Curious Clover was designed to encourage students of all ages to build curiosity about the world around them while learning about the journey of milk from the farm to your fridge.
How It Works
- Read the eBook, Curious Clover. Would you be interested in having a printed copy of the Curious Clover book available to you in the future? Click here to tell us “yes” or “no.”
- Print, color, and cut out the Curious Clover Activity Sheet.
- Use the Curious Clover PreK-5th Grade Lesson Plan for directions on how to share Clover with family and friends.
- Follow Clover’s adventures all around the world by visiting Clover’s Corner. Share your own adventures by sharing your photos with Clover on social media, using the hashtag #WheresCuriousClover and tagging Discover Dairy.
- Learn more about Curious Clover on our website.
Age group? The book and activity are ideal for elementary and middle school students.
March Is National Nutrition Month: What’s In Your Glass & What Cows Eat to Stay Healthy

March is National Nutrition Month! From the milk you drink for breakfast to the ingredients that cows consume on a daily basis to produce the milk in your glass, nutrition is a huge part of the dairy industry. Here are some interactive nutrition activities you can share with your students this month:
- What Do Cows Eat to Stay Healthy? Watch this short animated video to discover what dairy cows eat every day as part of a well-balanced diet. Dairy farmers work with nutritionists to develop special diets for cows to make sure they get the nutrients they need. See what goes into a cow’s total mixed ration (TMR) — you may be surprised by some of the ingredients! Age group? This video is ideal for students of all ages.
- What’s In Your Glass? Choices are great, but they can be overwhelming. This at-a-glance chart can help you understand what’s in your 8-ounce glass of milk. Age group? This chart is ideal for middle school and high school students.
- “Nutritionary” Game. This game celebrates artistic fun and nutrition! Players will sketch or sculpt clay into a food listed on their Nutritionary Food Card and see who can name their creation. Click here to download directions for the game. Age group? This game is ideal for grades K – 5.
- Health Education Lessons. These lesson plans teach students the importance of choosing healthy beverages for their growing bodies. Understanding Nutrition Facts Labels, weight management, and the economic impact of empty calories are all included in this two-part series. Age group? These lessons are ideal for 7th through 12th grade students.
How Water Is Recycled on Dairy Farms: Celebrate World Water Day
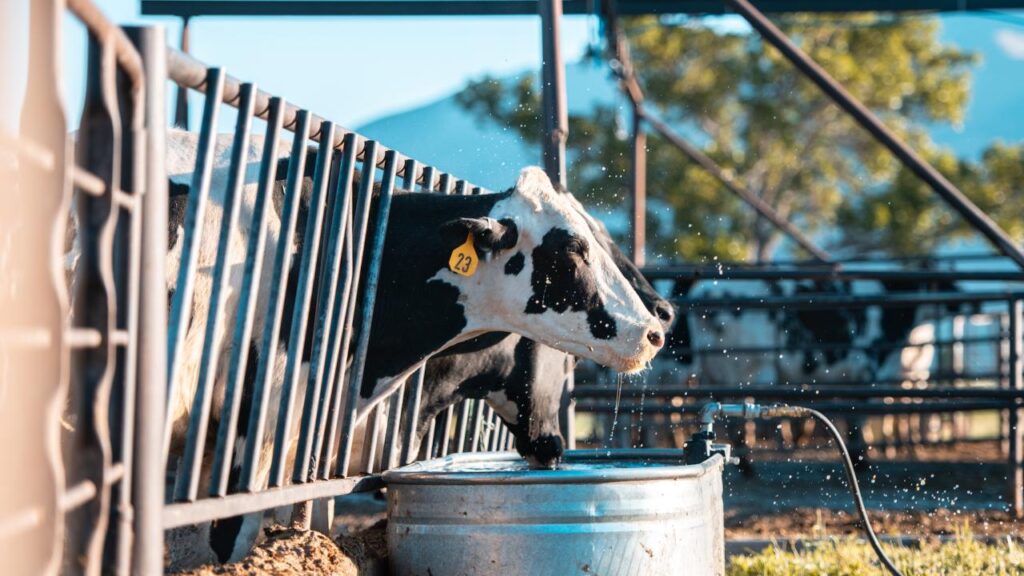
World Water Day is happening on March 22! This is a great time to plan lessons and activities focused on the environment and this important resource. Plant- and animal-based foods, including dairy, require water to grow and create the delicious, nutritious foods that sustain us. Water is a vital resource on dairy farms for the many roles it plays, and farmers do what they can to make every drop count!
Introduction: Click here to watch how water is recycled on dairy farms. It includes an introductory video you can watch that features a dairy farmer explaining how much they value water.
Dive Deeper: Dairy farmers are innovative when it comes to how they recycle water. In this article, dive deeper into this topic and see how a barn roof at Blan Dougherty’s farm in southeast Tennessee not only is used to shade and protect his cows from the elements, it is used to catch rainwater. Read more.
Take It a Step Further: Do you live in California or another state in the Western United States? Access to safe, quality water is more uncertain throughout the West, meaning effective management of the precious resource is increasingly important. Nearly 50% of the country’s dairy production is in the Western U.S., but farms face an arid climate with moderate to extreme drought conditions. By reducing, reusing, and recycling water, Western U.S. dairy farmers get the most out of every drop. Read more about their approach to water management.
Irish Dairy Facts to Share for St. Patrick’s Day
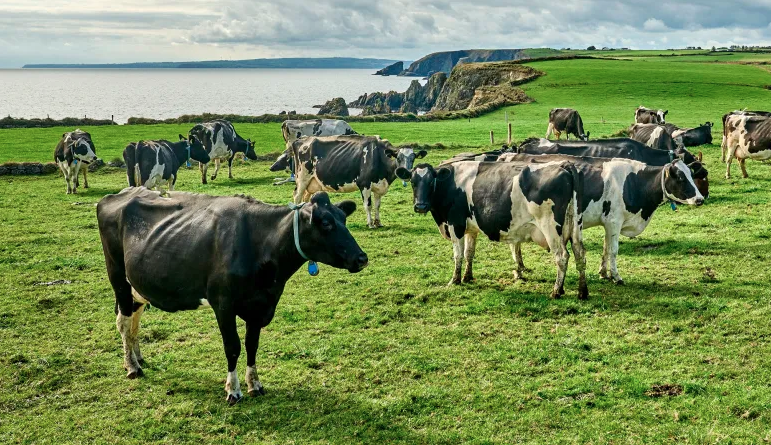
If you’re celebrating St. Patrick’s Day on March 17, try sharing some of these Irish “Dairy Fun Facts” with your students. Did you know Ireland has 1.5 million cows? The dairy industry is very strong and important to their heritage, just like it is in the United States. Click here to view more Irish dairy fun facts.
Age group? These facts are ideal for students of all ages, depending on how you introduce them.