Author: info@discoverdairy.com
Save the Date for Virtual Farm Tour at Zahncroft Dairy on April 9
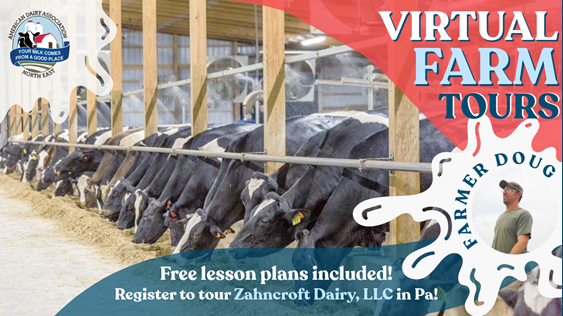
We are excited to share that our Adopt a Cow host farm from Pennsylvania, Zahncroft Dairy, is participating in a virtual farm tour with American Dairy Association North East on Tuesday, April 9. These virtual farm tours transport you digitally to a real dairy farm with the farmer serving as your LIVE guide to answer questions. Maybe you’ll even get a glimpse of your adopted calf!
Save the date for one of two virtual farm tours happening at Zahncroft Dairy and RSVP today:
Zahncroft Dairy Virtual Farm Tour: Pre-K – Grade 5 | Click Here for Complimentary Lesson Plans
Tuesday, April 9, 2024, at 10 a.m. Eastern
Click here to RSVP.
Dairy Deep Dive Tour: Zahncroft Dairy: Grades 6-12 | Click here for Complimentary Lesson Plan
Tuesday, April 9, 2024, at 11:15 a.m. Eastern
Click here to RSVP.
Celebrate the Snow With Milk Jug Snowmen Craft
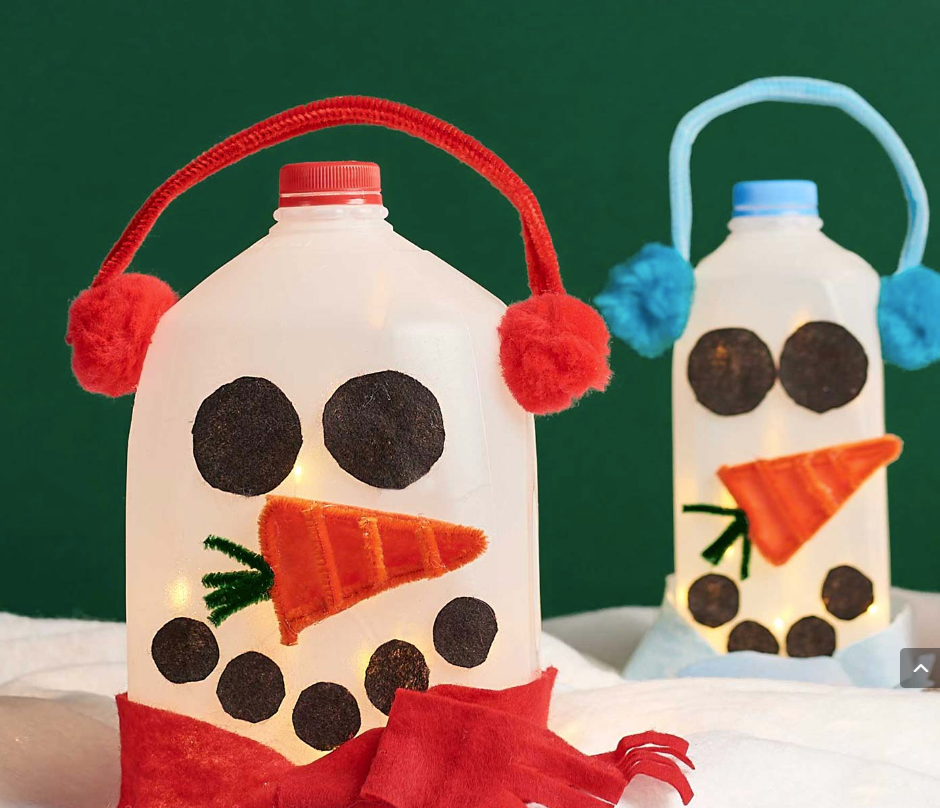
Have you been experiencing snow this January? If you’re looking for a fun winter craft that connects to dairy, while letting your students be creative, try this easy milk jug snowman craft!
All you need are a few empty milk jugs, construction paper, glue, pipe cleaners and any other decorations you want to share with your students.
Age group? This craft is ideal for elementary and middle school students.
Prepare for the Super Bowl with Flag Football Activity

Recognize the value of physical activity for health, enjoyment, challenge & social interaction. To get in the football spirit and celebrate the upcoming NFL Super Bowl game, try starting an official NFL flag football league at your school. Flag teams can include as few as five or as many as 10 players. Flag football can be a great way to get students involved in a fun physical activity that will really keep them moving — and it’s a great way to make connections with nutrition and the role dairy plays in keeping athletes strong and fueled.
Age group? This activity is ideal for students of all ages, with lessons and directions outlined for multiple grade levels.
Videos About Dairy Farming to Share With Students
If you’re looking for an indoor activity this winter to take your Adopt a Cow lessons to the next level, check out both of these informative videos! Your students will learn more about dairy farming and how cows nourish the world.
Q&A Video With Farmer Pam
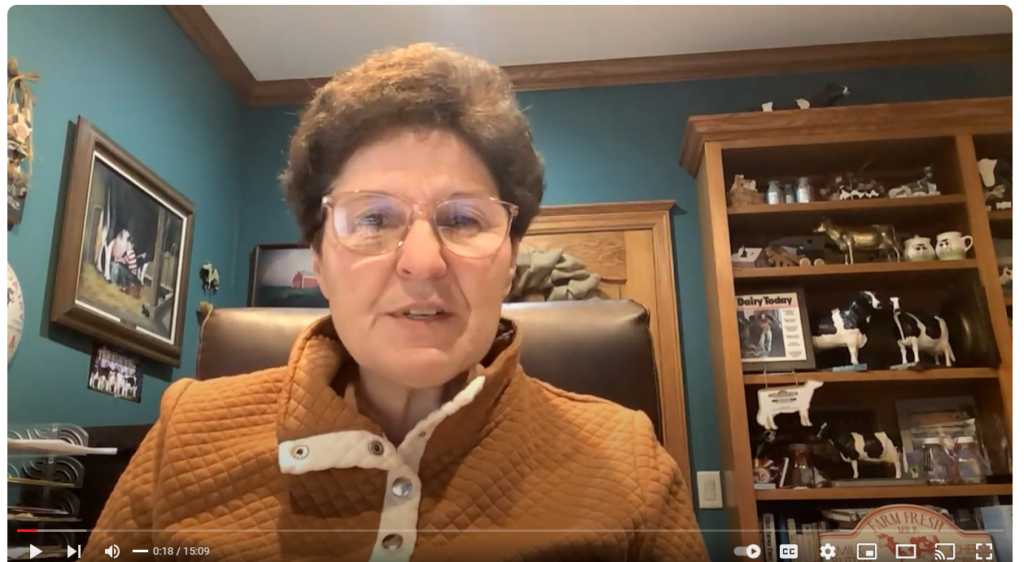
Farmer Pam from Selz-Pralle Dairy, who many of you may recognize from the Adopt a Cow program, took some time to answer your frequently asked questions about dairy farming (and your adopted calf) in this engaging, 15-minute video.
How Do Cows Nourish The World?
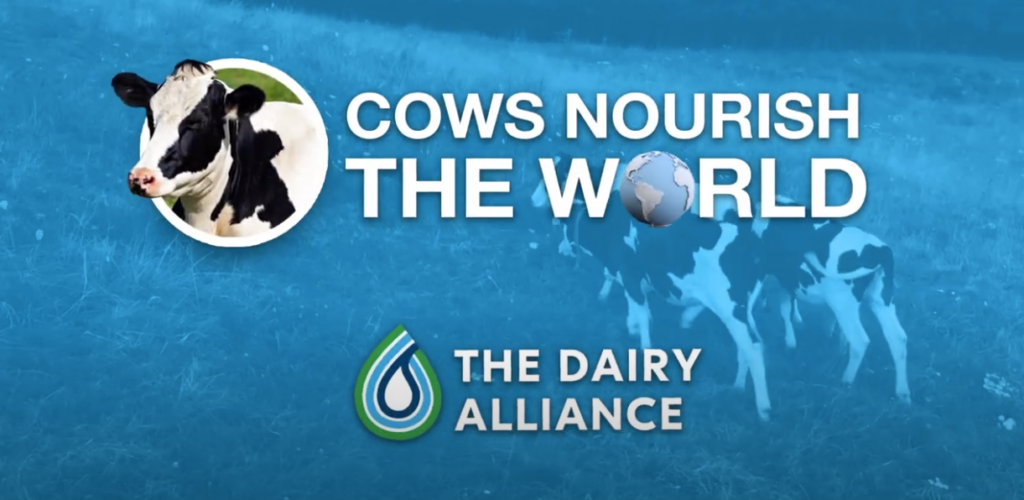
In this short, 2-minute video from The Dairy Alliance, learn more about milk and its 13 essential nutrients. Watch the video to learn about milk’s amazing, bone-building nutrients and how milk can help build a healthy immune system. This video could connect to any health or nutrition lessons you might be planning.
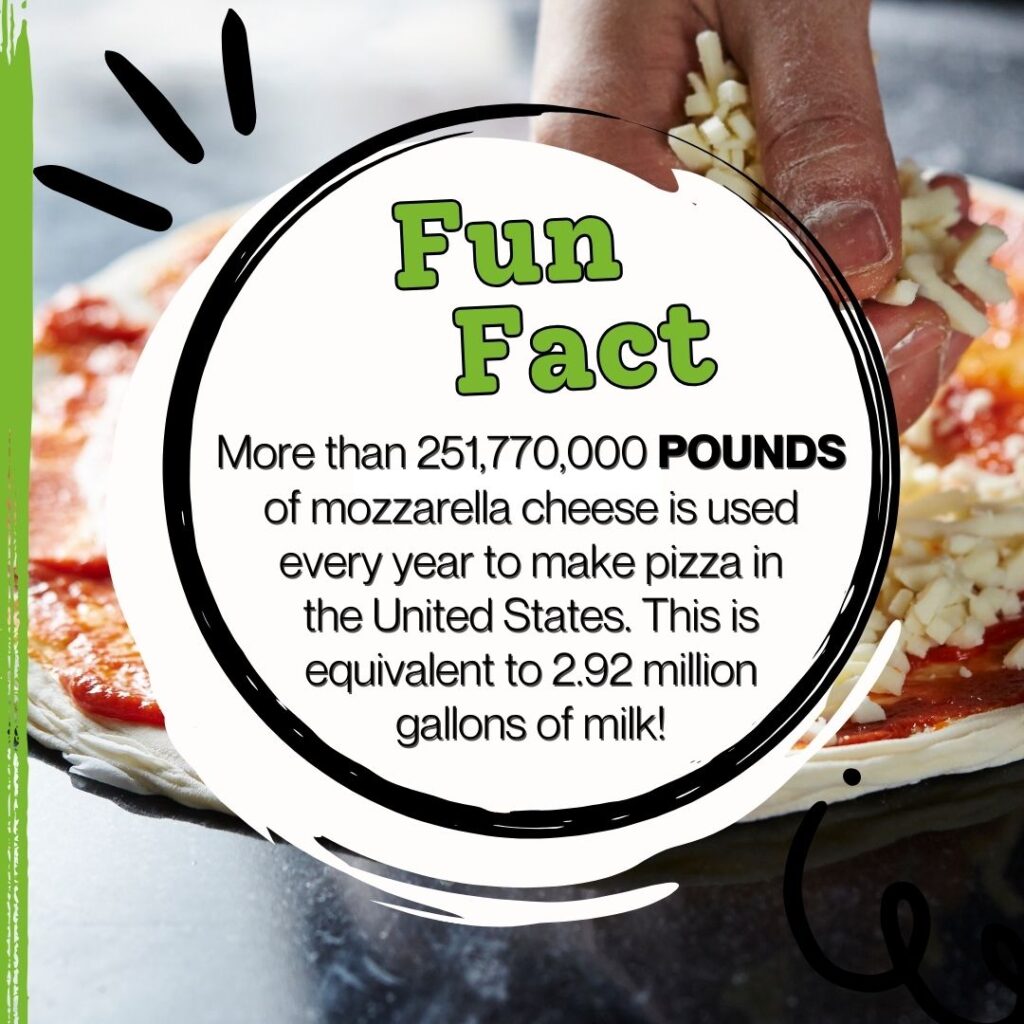
Dairy Fun Fact
More than 251,770,000 POUNDS of mozzarella cheese is used every year to make pizza in the United States. This is equivalent to 2.5 billion pounds of milk, or 2.92 million gallons of milk.
With National Pizza Day being on February 9, share this fun fact with your students to show just how much milk goes into everyday foods that they enjoy throughout the year!
Recipe for National Pizza Day on February 9
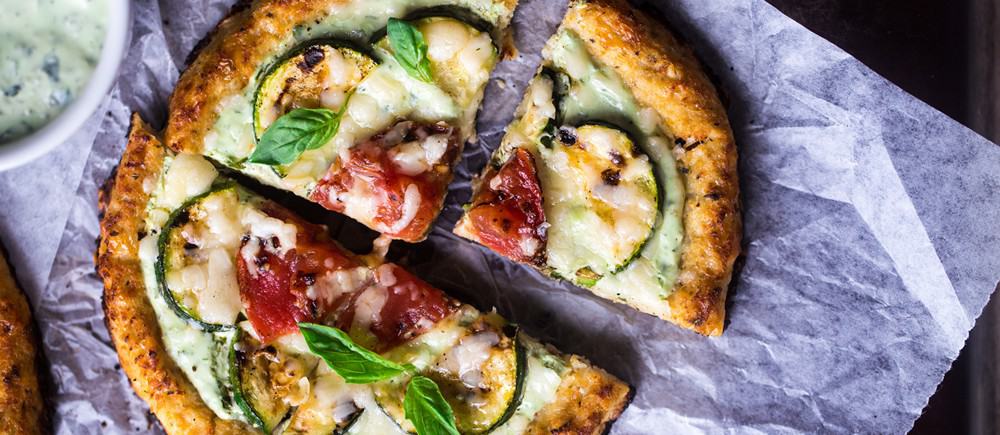
| When you celebrate National Pizza Day on February 9, try something new that also adds an extra serving of dairy: put Greek yogurt on your pizza! This recipe for Cauliflower Pizza with Greek Yogurt Pesto & Grilled Veggies is protein-packed and full of flavor. |
| Ingredients For the cauliflower crust: – 12 cups cauliflower, cut into florets (about 2 medium heads or 3 lbs) – 1 tablespoon + 1 teaspoon garlic, minced – 1/2 teaspoon salt – 1 teaspoon Italian seasoning – Pepper – 1 1/3 cups + 4 tablespoons Parmesan cheese, grated and divided (about 3.5 oz) – 2 large egg whites For the Greek yogurt basil sauce: – 1/2 cup plain, fat-free Greek yogurt – 1/2 cup firmly packed fresh basil, roughly chopped – 2 teaspoons garlic, minced – 1 tablespoon olive oil -Salt/pepper to taste For topping: – 1 small zucchini, sliced – 3 Roma tomatoes, sliced – 1/2 inch thick – 1/2 tablespoon olive oil – 1/2 cup Parmesan cheese, grated – Fresh basil, for garnish Instructions 1. Preheat your oven to 400°F and line a pizza pan with parchment paper. 2. In a large food processor, process the cauliflower until it is fine and the texture of rice. 3. Place the cauliflower into a LARGE bowl and microwave for 7 minutes, stir, and microwave for an additional 7 minutes. Then, let the cauliflower stand until cool enough to handle, 10-15 minutes. 4. Dump the cauliflower into a thin kitchen towel. Ring out ALL the excess moisture to avoid soggy crust. 5. Transfer the cauliflower back into a large bowl and add the garlic, salt, Italian season, a pinch of pepper and 1 1/3 cups of the Parmesan cheese. Stir until well combined and then add the egg whites, mixing until well combined. 6. Divide the cauliflower into 4 balls (about a heaping 1/2 cup each) and spread onto on the pizza pan, leaving a ridge for the crust. Bake until golden brown, about 30 minutes. 7. While the pizza bakes, combine the Greek yogurt, basil and garlic in a small food processor until smooth and creamy, scraping the sides down as necessary. 8. With the food processor on, stream in the olive oil until well mixed. Set aside. 9. Then, preheat your grill to medium-high heat. 10. Combine the sliced zucchini, tomato and olive oil in a small bowl and season with a pinch of salt and pepper. Grill until charred, about 2-3 minutes a side. Place onto a plate and set aside. Keep your grill on. Once the pizza is cooked, remove them from the oven and preheat your broiler to high heat for 3 minutes. Take the remaining 4 tablespoons of cheese and sprinkle it onto the pizzas (1 tablespoon each) and broil for 2-3 minutes until golden brown and melted. 11. Spread some of the Greek yogurt sauce on each pizza and then top with the grilled veggies and sprinkle with remaining cheese. Place the pizzas onto the grill until the cheese melts, about 2-3 minutes. |
Create an Adopt a Cow Workbook or Memory Book
| This teacher came up with a creative way to keep her classroom’s Adopt a Cow activities all in one place! She made this workbook of all the different worksheets students have completed so far. Whether you teach in a traditional classroom setting, or home school setting, try making your own workbook or memory book from the months you spent with your adopted calf. Watch a short video of her workbook. |
New Animal Health Lessons Now Available
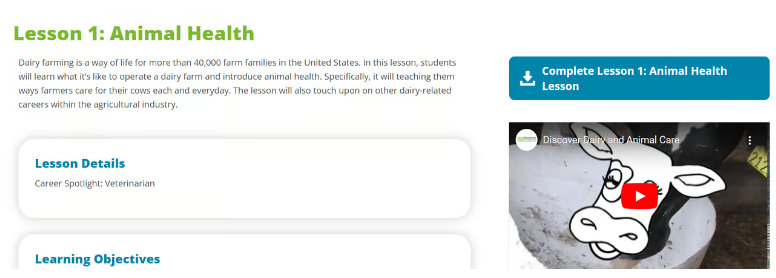
Dairy farming is a way of life for more than 40,000 farm families in the United States. To help you introduce the career field of dairy farming to your students, along with how farmers keep their cows healthy and comfortable, Discover Dairy just published new Animal Health Lessons for three grade levels. Log in to your Discover Dairy/Adopt a Cow account to access these free lessons:
- K-2nd Grade Animal Health Lesson – In this lesson, we will learn some words around a dairy farm, explore the career of being a dairy farmer, and see the ways farmers care for their cows every day.
- 3rd – 5th Grade Animal Health Lesson – In this lesson, students will learn what it’s like to operate a dairy farm and introduce animal health. Specifically, it will teach them ways farmers care for their cows each and every day. The lesson will also touch upon other dairy-related careers within the agricultural industry.
- 6th – 8th Grade Animal Health Lesson – In this lesson, students will learn how to work with others to make sure that their cows’ diet is balanced and nutritious to keep the cows healthy and happy. The lesson will also highlight the career of being a nutritionist.
Get a Customized Ear Tag Keychain With Your Adopted Calf
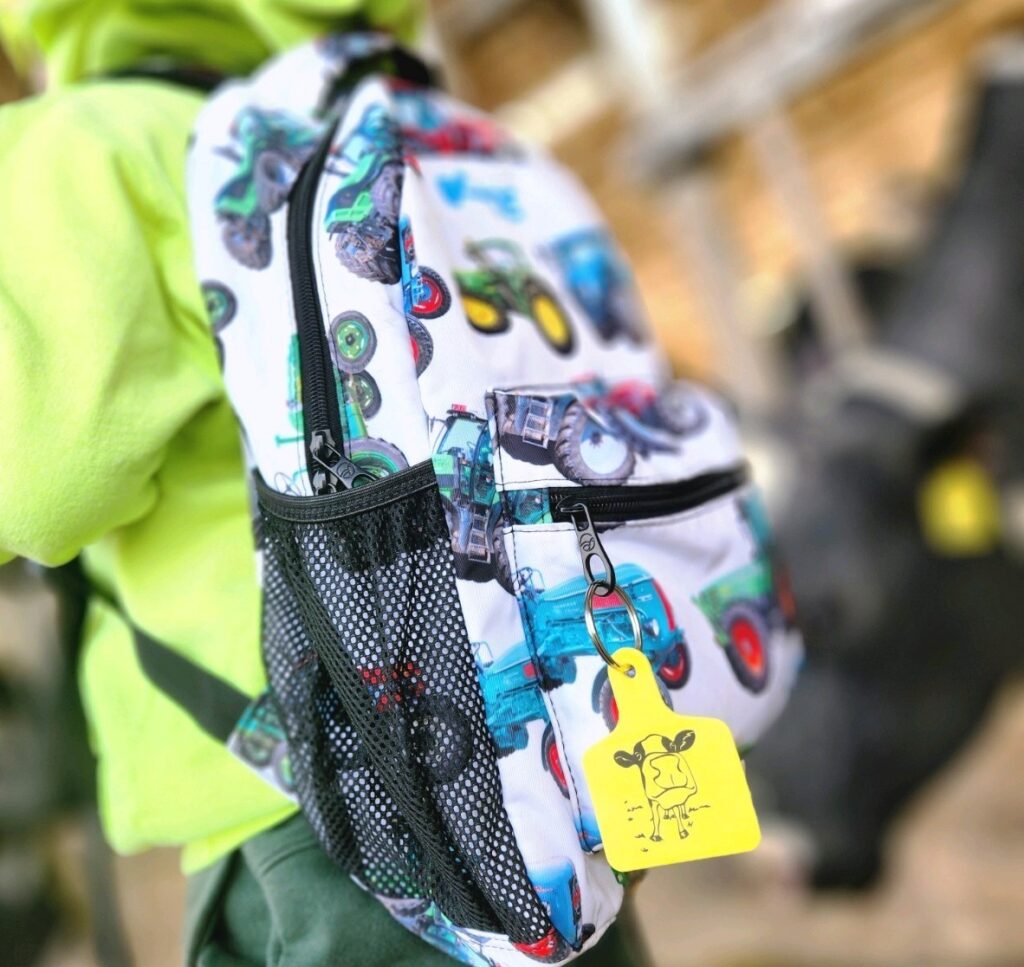
Did you know a cow’s ear tag helps dairy farmers identify the cow from the rest of the herd? The tags can include numbers, birthdates, or their names! If you want a fun memory from this year’s Adopt a Cow program, we have a limited amount of customized ear tag keychains available. By making a $10 donation, you’ll receive a customized ear tag keychain as a thank-you gift. Each tag will be yellow with the Discover Dairy calf on one side. You can customize the other side of your tag with your adopted calf’s name in memory of your special classroom mascot. For every $10 donated, you will receive one ear tag. You must order yours and make your donation between January 1-26, 2024 (or while supplies last).
Mess With Your Milk: Make Magic Milk “Plastic”
Don’t just drink your milk — mess with it! You probably already have everything you need in your kitchen to make your milk transform into “plastic” charms! In this video activity, you can make your own Magic Milk “Plastic.” How does it work? Milk contains protein. When milk’s protein meets vinegar’s acid, the protein molecules join together in long chains, causing curds to form. Those curds can then be molded into any shape. When they dry, you have homemade “plastic!”
Age group? This video/activity is ideal for students of all ages.